Intercom Integration#
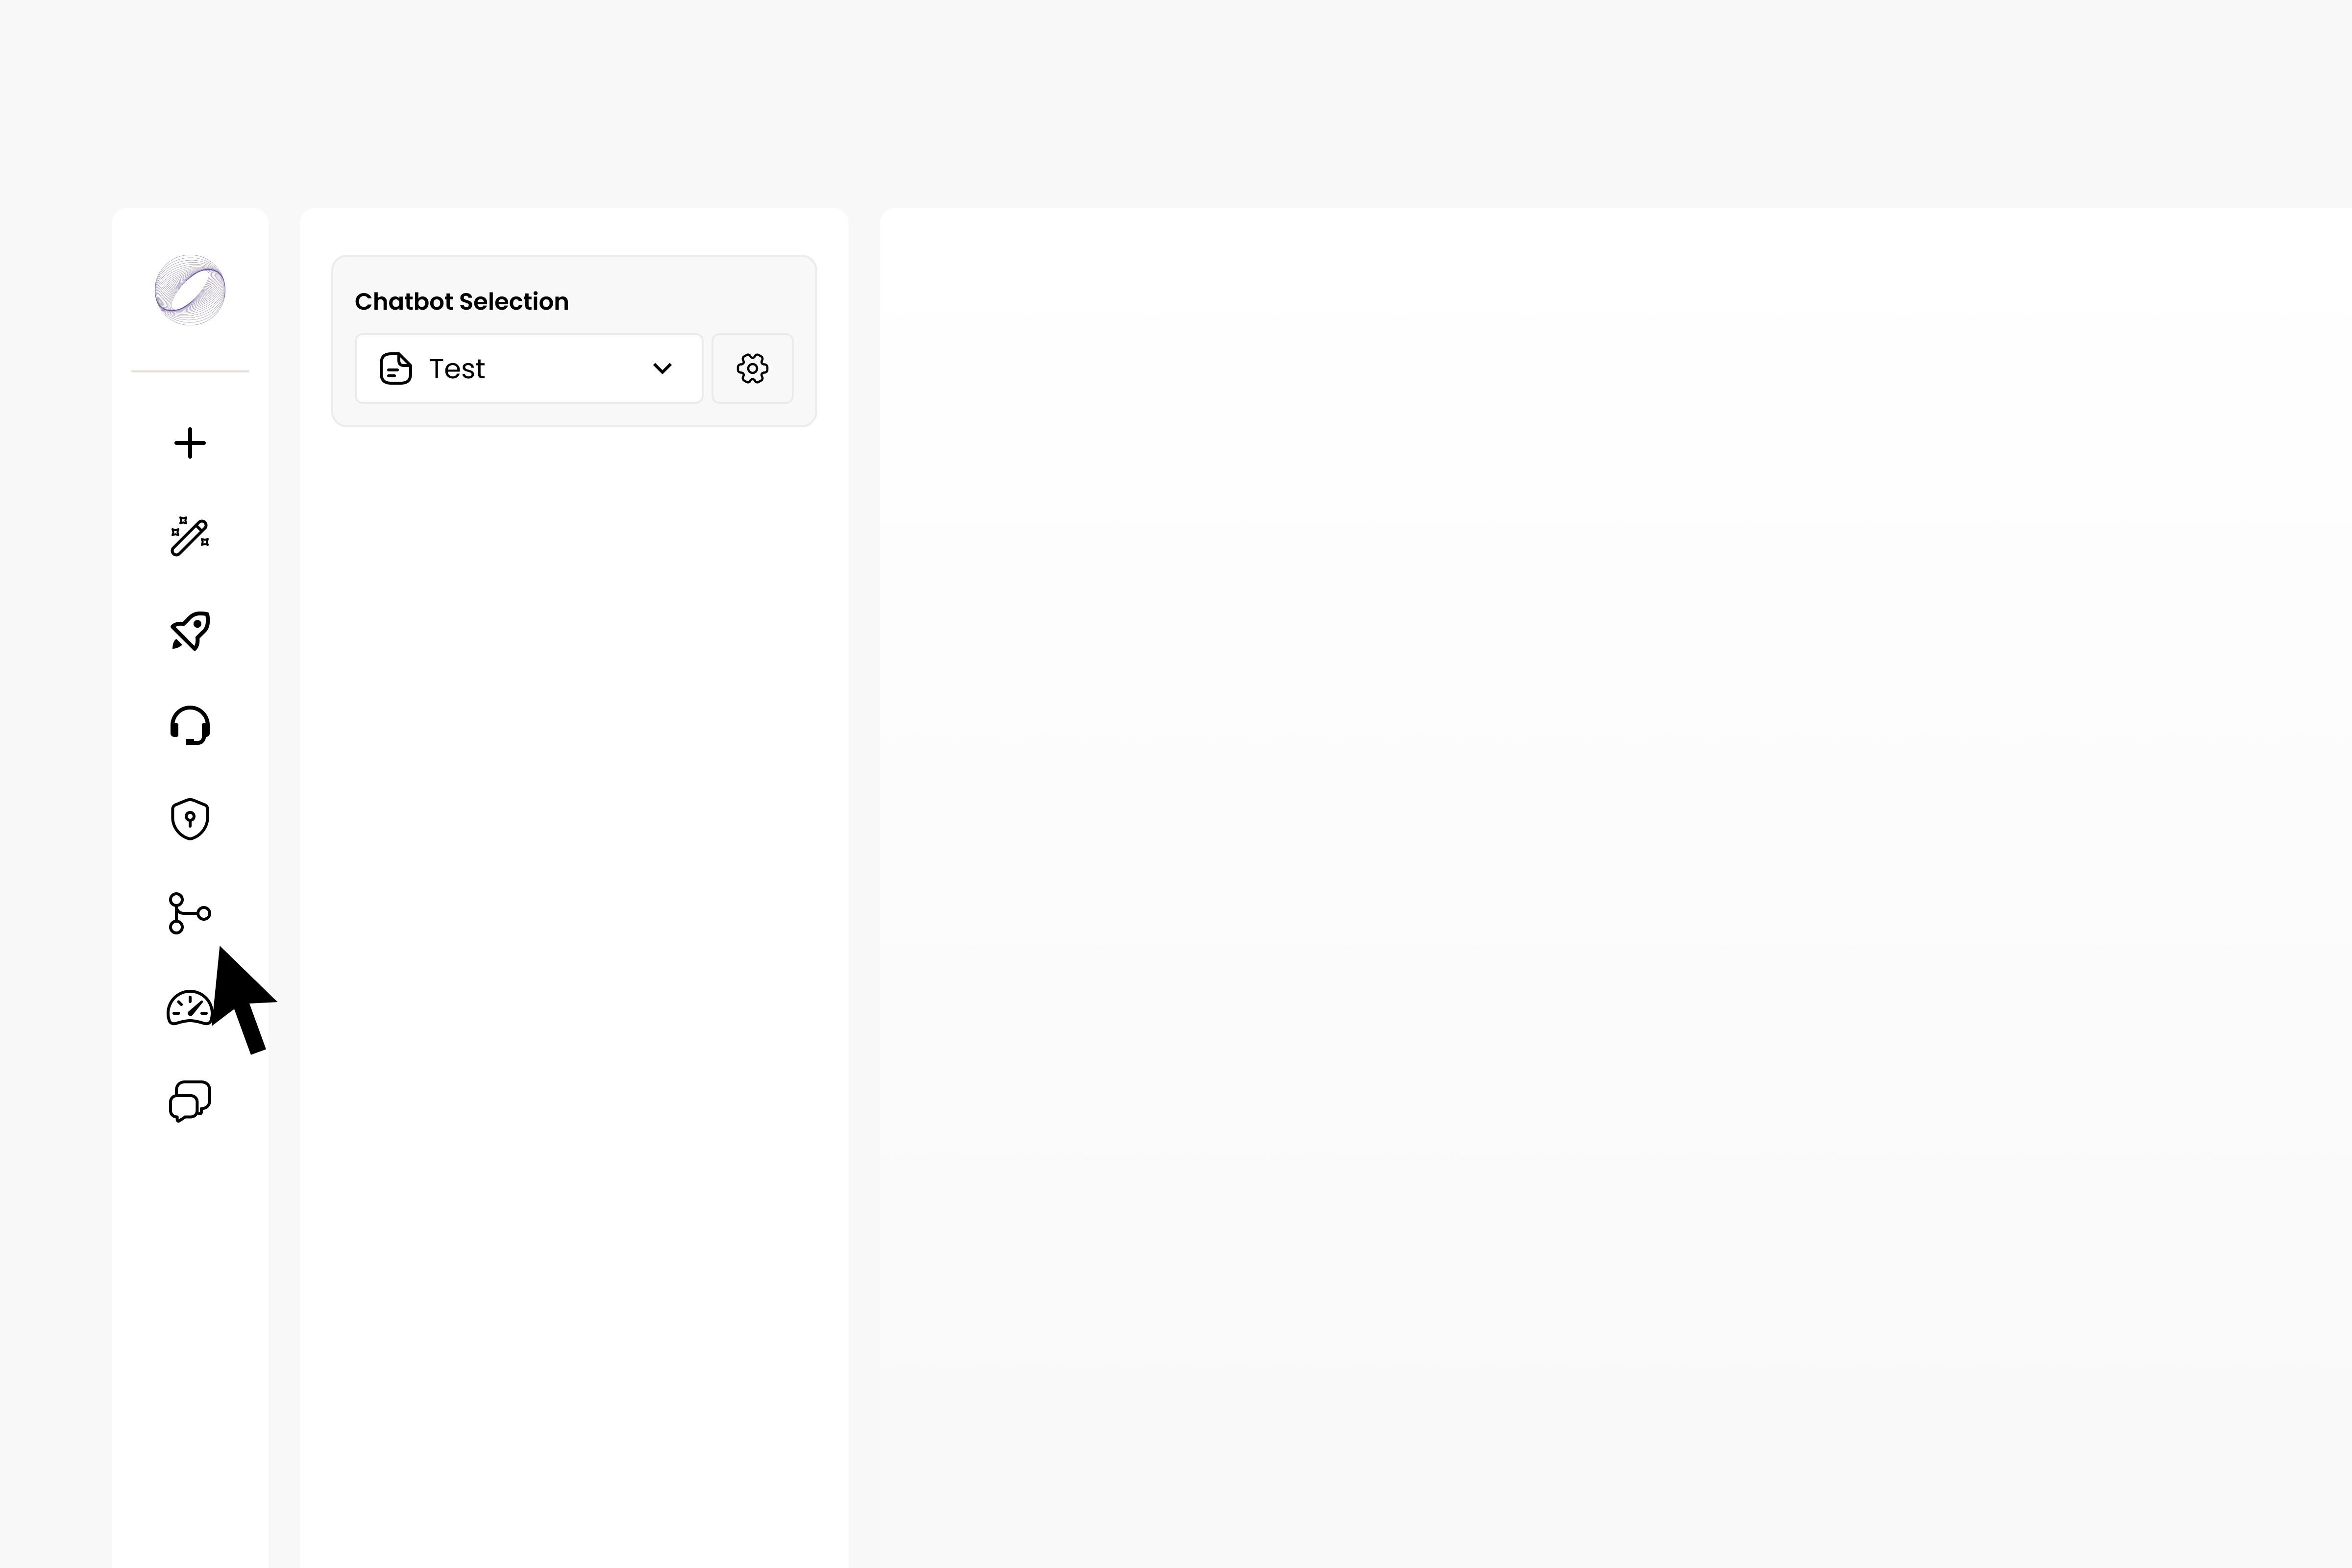
To integrate Intercom with Dante AI, click on ‘Integrations’ and select ‘Intercom integrations’.
You will then need to provide the App ID, Access Token and Live Agent Email Prompt.
Follow these instructions to obtain these details from your Intercom page:
App ID
To locate your App ID in Intercom, check the URL of any Intercom page you have open.
Look for the code immediately following inbox/ in the URL. For example, if you are currently on the help desk, and the URL is https://app.intercom.io/a/inbox/xyz123/inbox/admin, then your App ID is xyz123.
You can also find this ID by navigating to Settings > Installation > Web > Install chat for visitors > With code (link here: https://app.intercom.com/a/apps/_/settings/web).
There, you will see something like this:
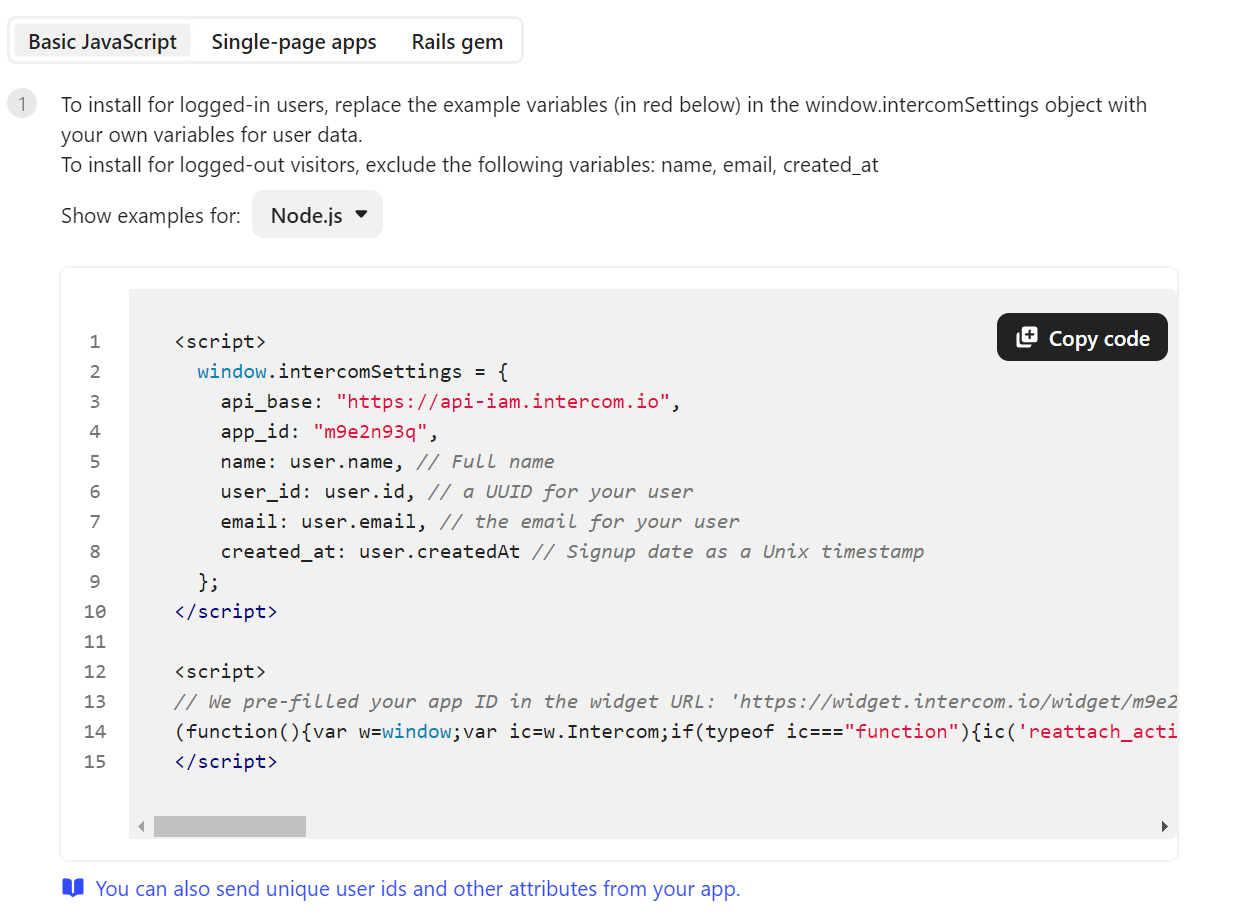
In this case the App ID is: m9e2n93q.
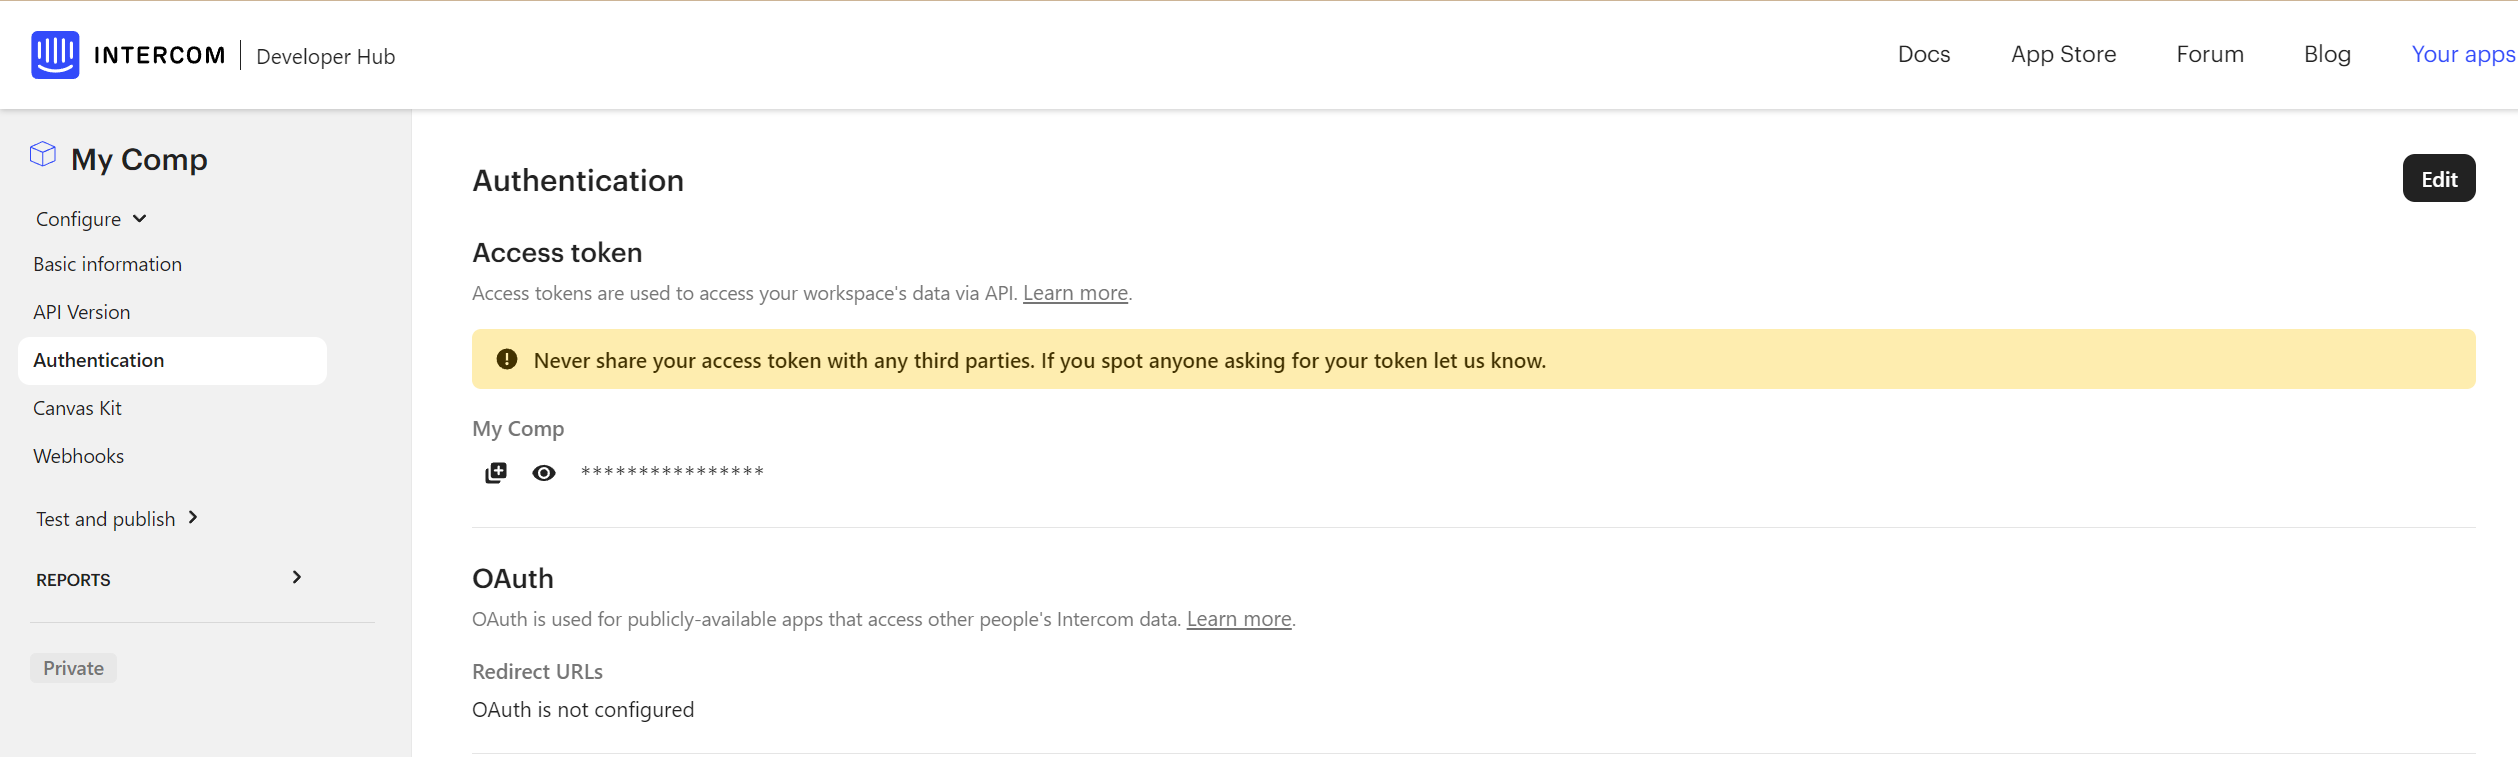
Access token
In the Developer Hub (https://app.intercom.com/a/apps/_/developer-hub), select your app. Then, on the left sidebar, click on Authentication. There, you can copy your Access Token. If this does not currently exist, please create one.
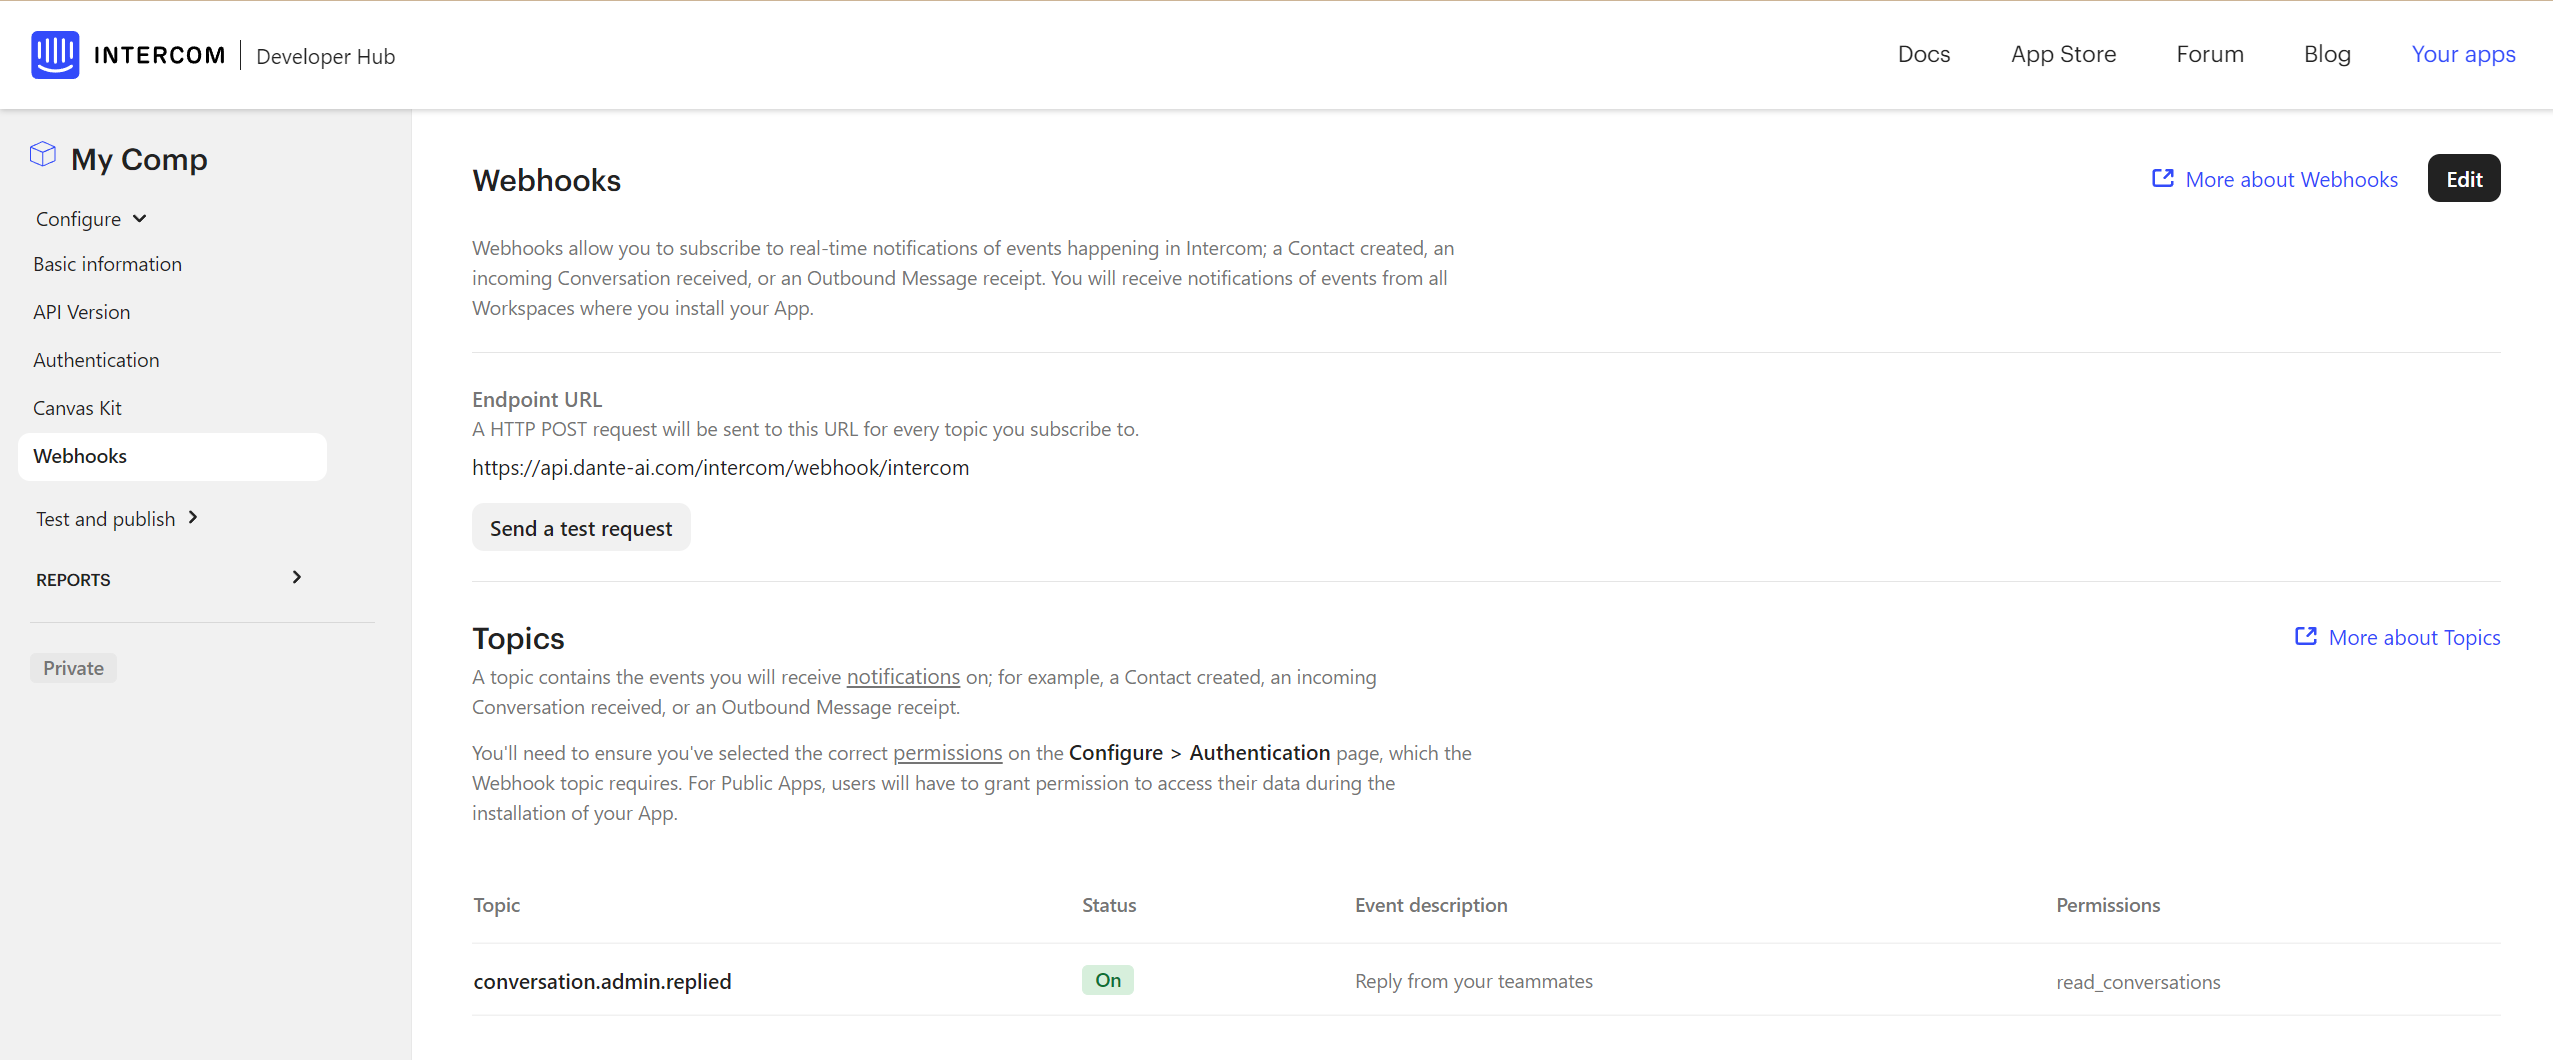
Setup the webhook
On the same page, click on ‘Webhooks’ in the left sidebar.
Set the Endpoint URL to: https://api.dante-ai.com/intercom/webhook/intercom. For the topics, please find and select conversation.admin.replied. Lastly, click ‘Save’ at the top right.
Once you have input this information into Dante AI, toggle the ‘On/Off’ option to ‘On’ and test out your integration to check it is working as you need it to.
