WhatsApp Integration#
You can connect your chatbot to WhatsApp to enable real-time messaging with your customers.This is ideal for businesses aiming for a wide-reaching presence on a popular messaging platform.
Creating a WhatsApp Business account
Step 1: Before integrating WhatsApp with Dante AI, you will need a WhatsApp Business account.
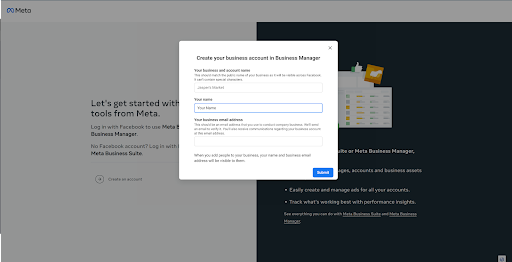
Create a Business Account:
If you don’t have a business account, you need to create one. Navigate to the WhatsApp Business platform and sign up using the relevant business details
Create a WhatsApp Business platform account:
After creating your business account, go to the Meta App settings and create a WhatsApp Business platform account
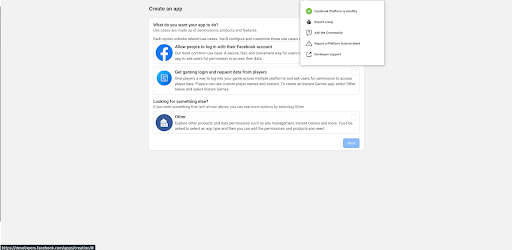
Create an App in Meta:
Navigate to Meta in developer mode and create a new App
Note: Creating an app is crucial to obtain access to necessary APIs and settings
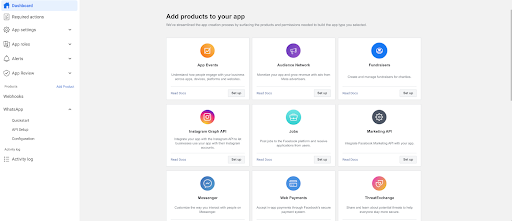
Add WhatsApp Product to Your Meta App:
Navigate to your application, on the left sidebar click on Add Product and add the WhatsApp product to your newly created Meta App
Also add the Webhooks product to your app
Setting up in Dante AI
Step 2: Once the business account is set up, you can start to integrate this with your Dante AI chatbot. Click on ‘Integrations’ and select ‘Whatsapp Integrations’. Enable this integration by toggling the ‘on/off’ option to ‘on’.
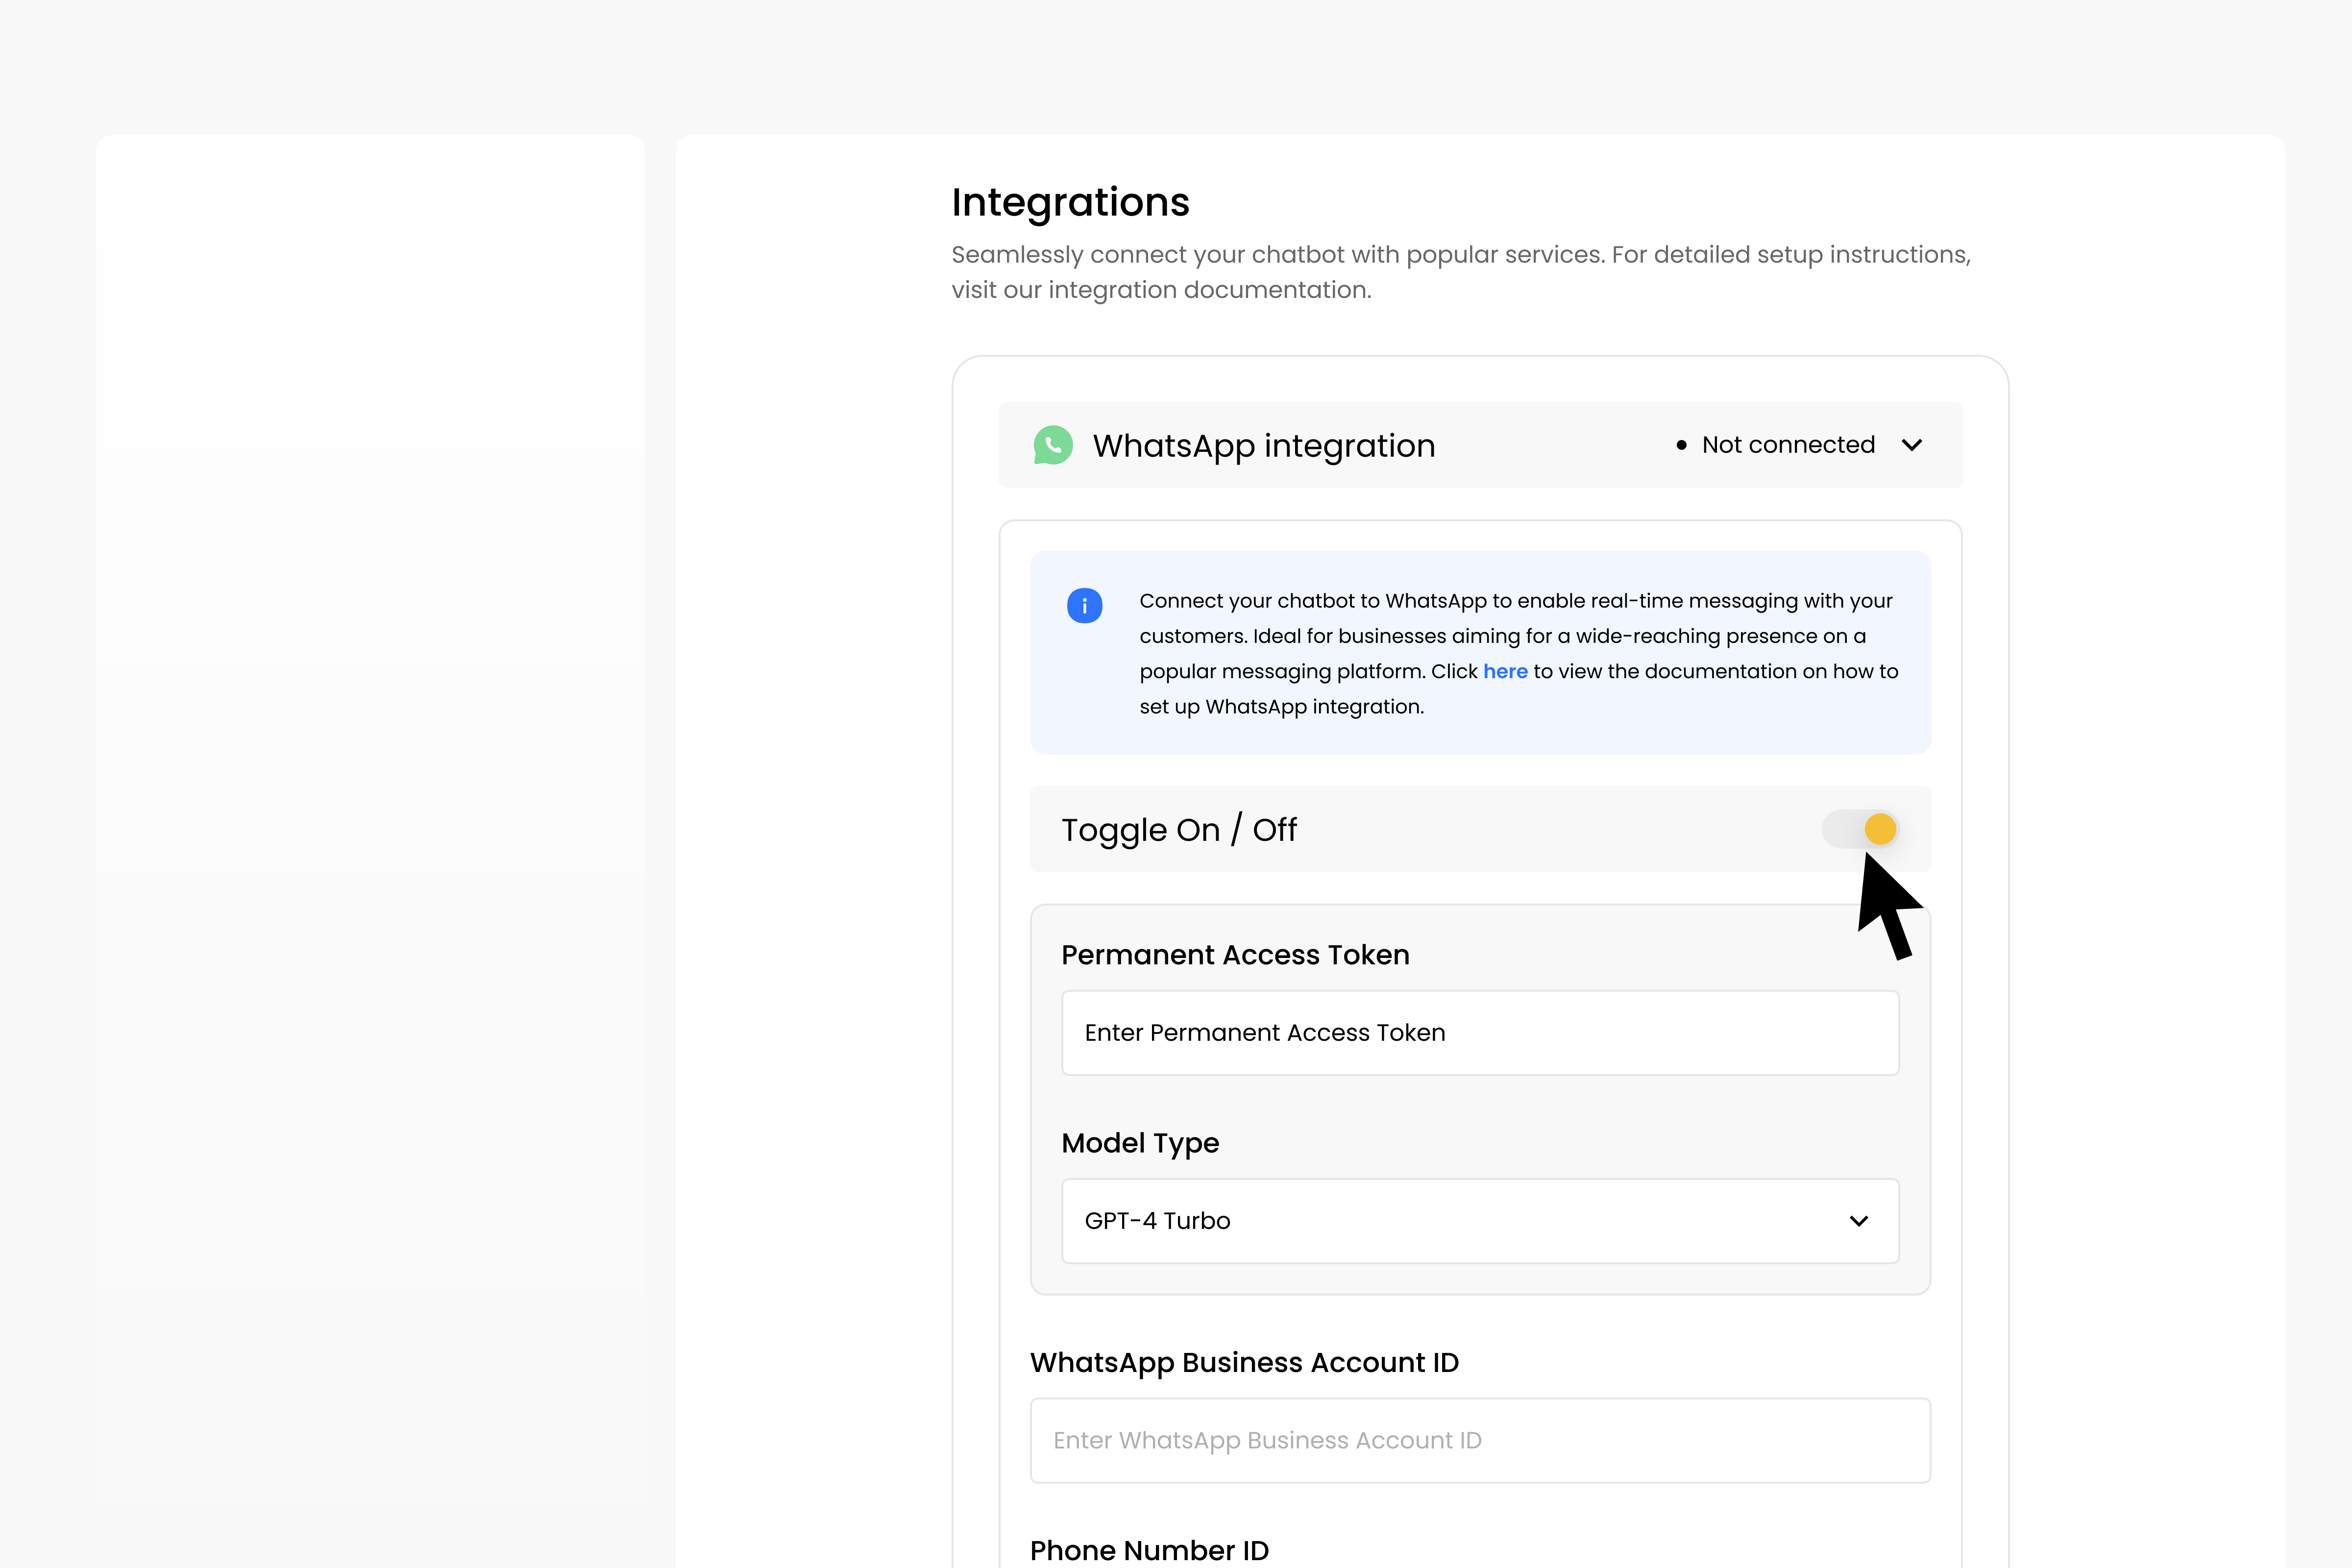
Then follow these steps:
Verify Webhook (in Meta):
Navigate to Whatsapp -> Configuration
Edit the Callback URL to https://api.dante-ai.com/whatsapp/webhooks
Edit the Verify token to dante_whatsapp_verification_token
Click on Verify and save
In Webhook fields click Manage
Find messages row and Subscribe to it

Add and Verify Your Phone Number (in Meta):
Add the business phone number and go through the verification process
Add Payment Method (in Meta):
Input the preferred payment method and confirm it
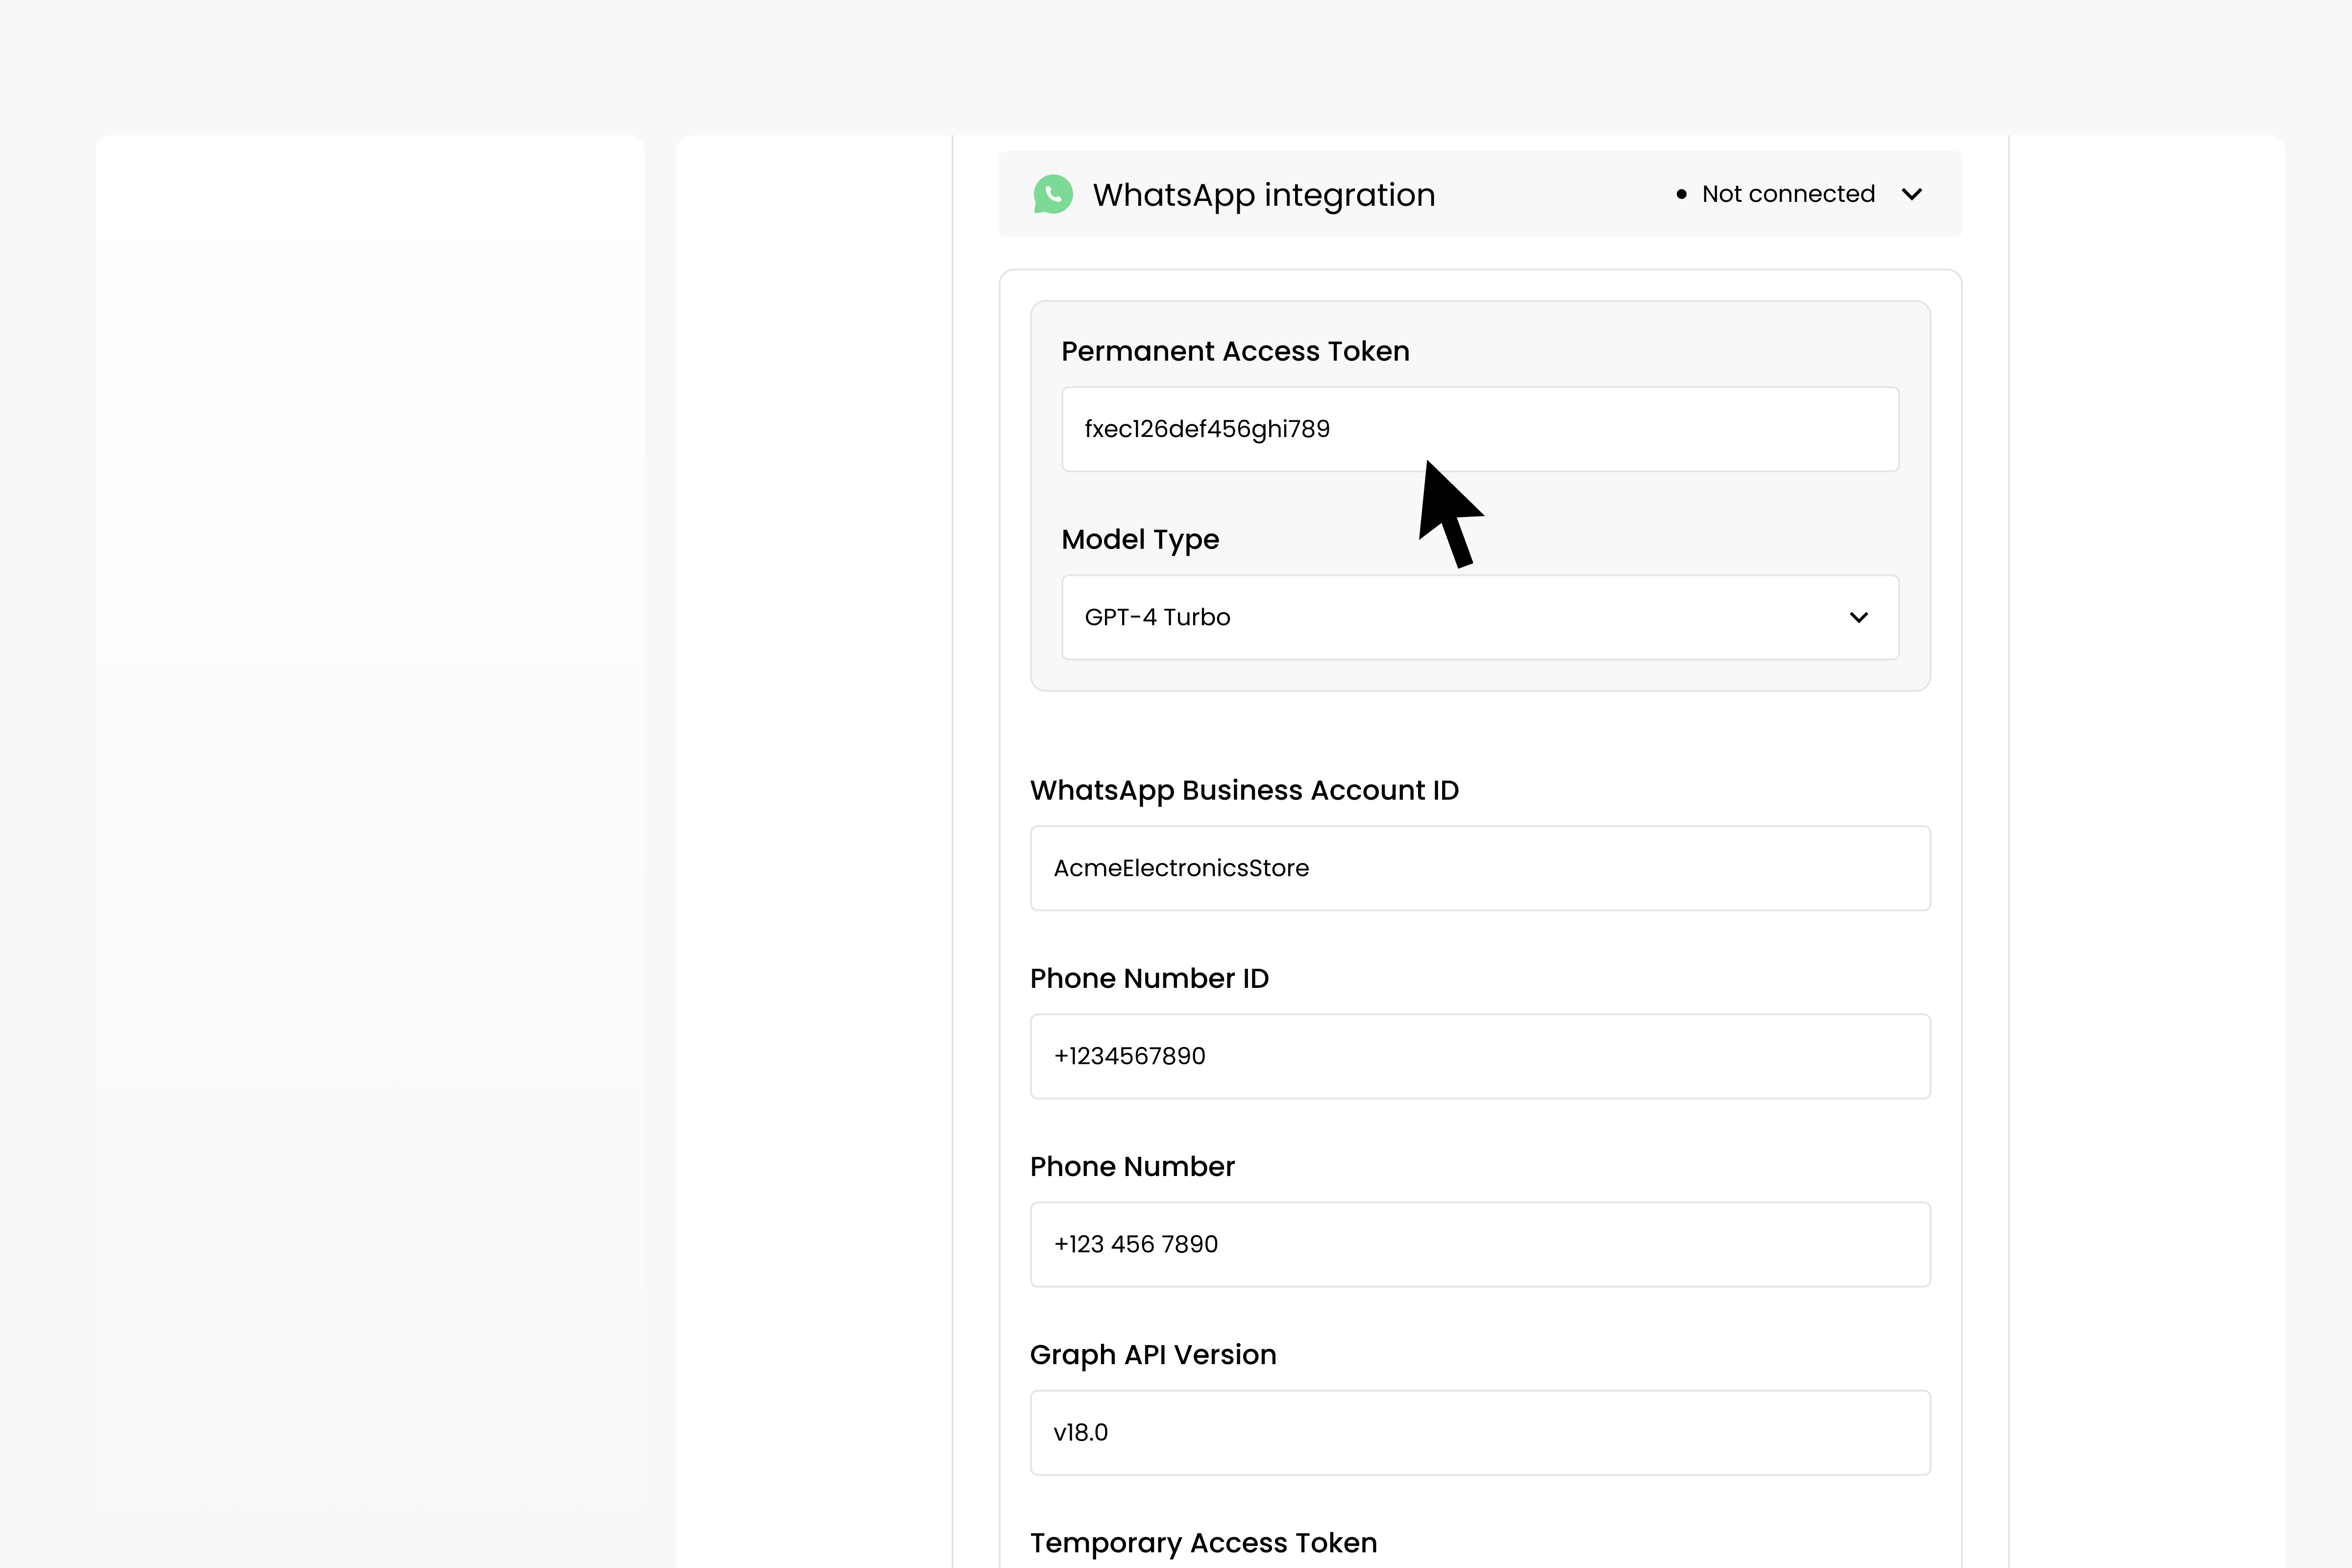
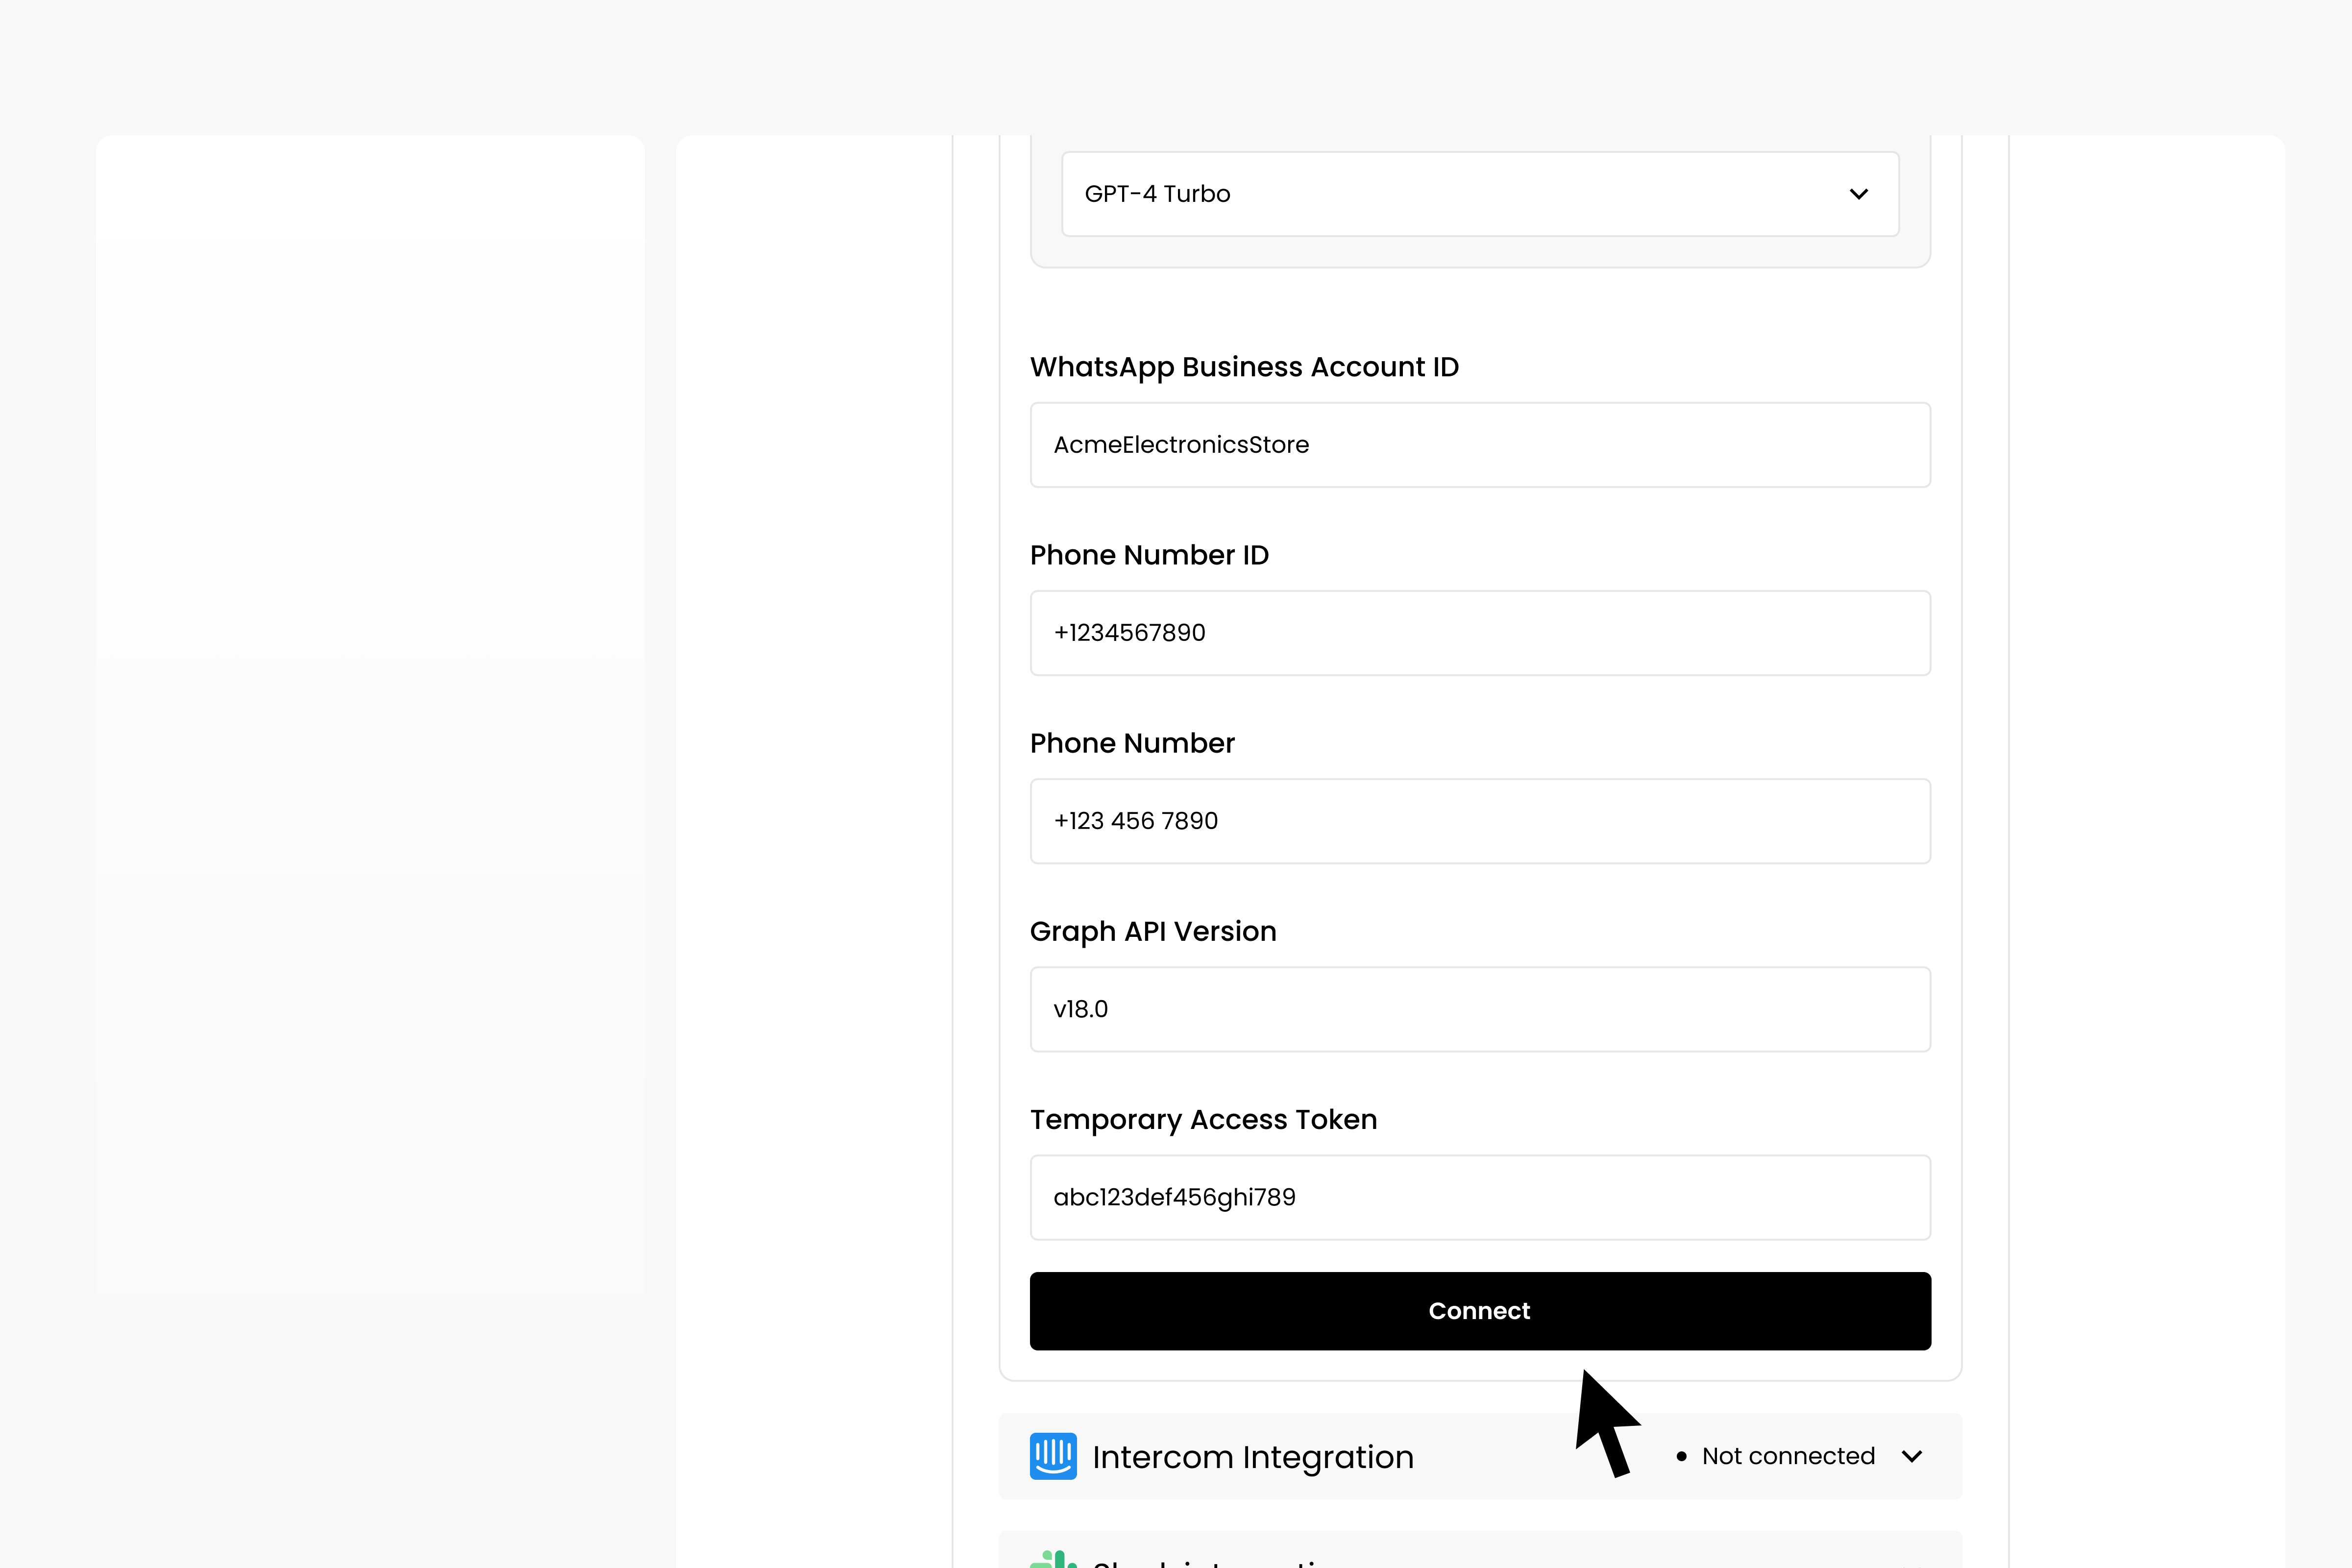
Configure Dante Settings:
Add Temporary Access Token, WhatsApp Business Account ID, Phone Number ID, Phone Number and Graph API version in Dante AI
This information can be found in the App Dashboard in Meta, via Products -> WhatsApp -> API Setup
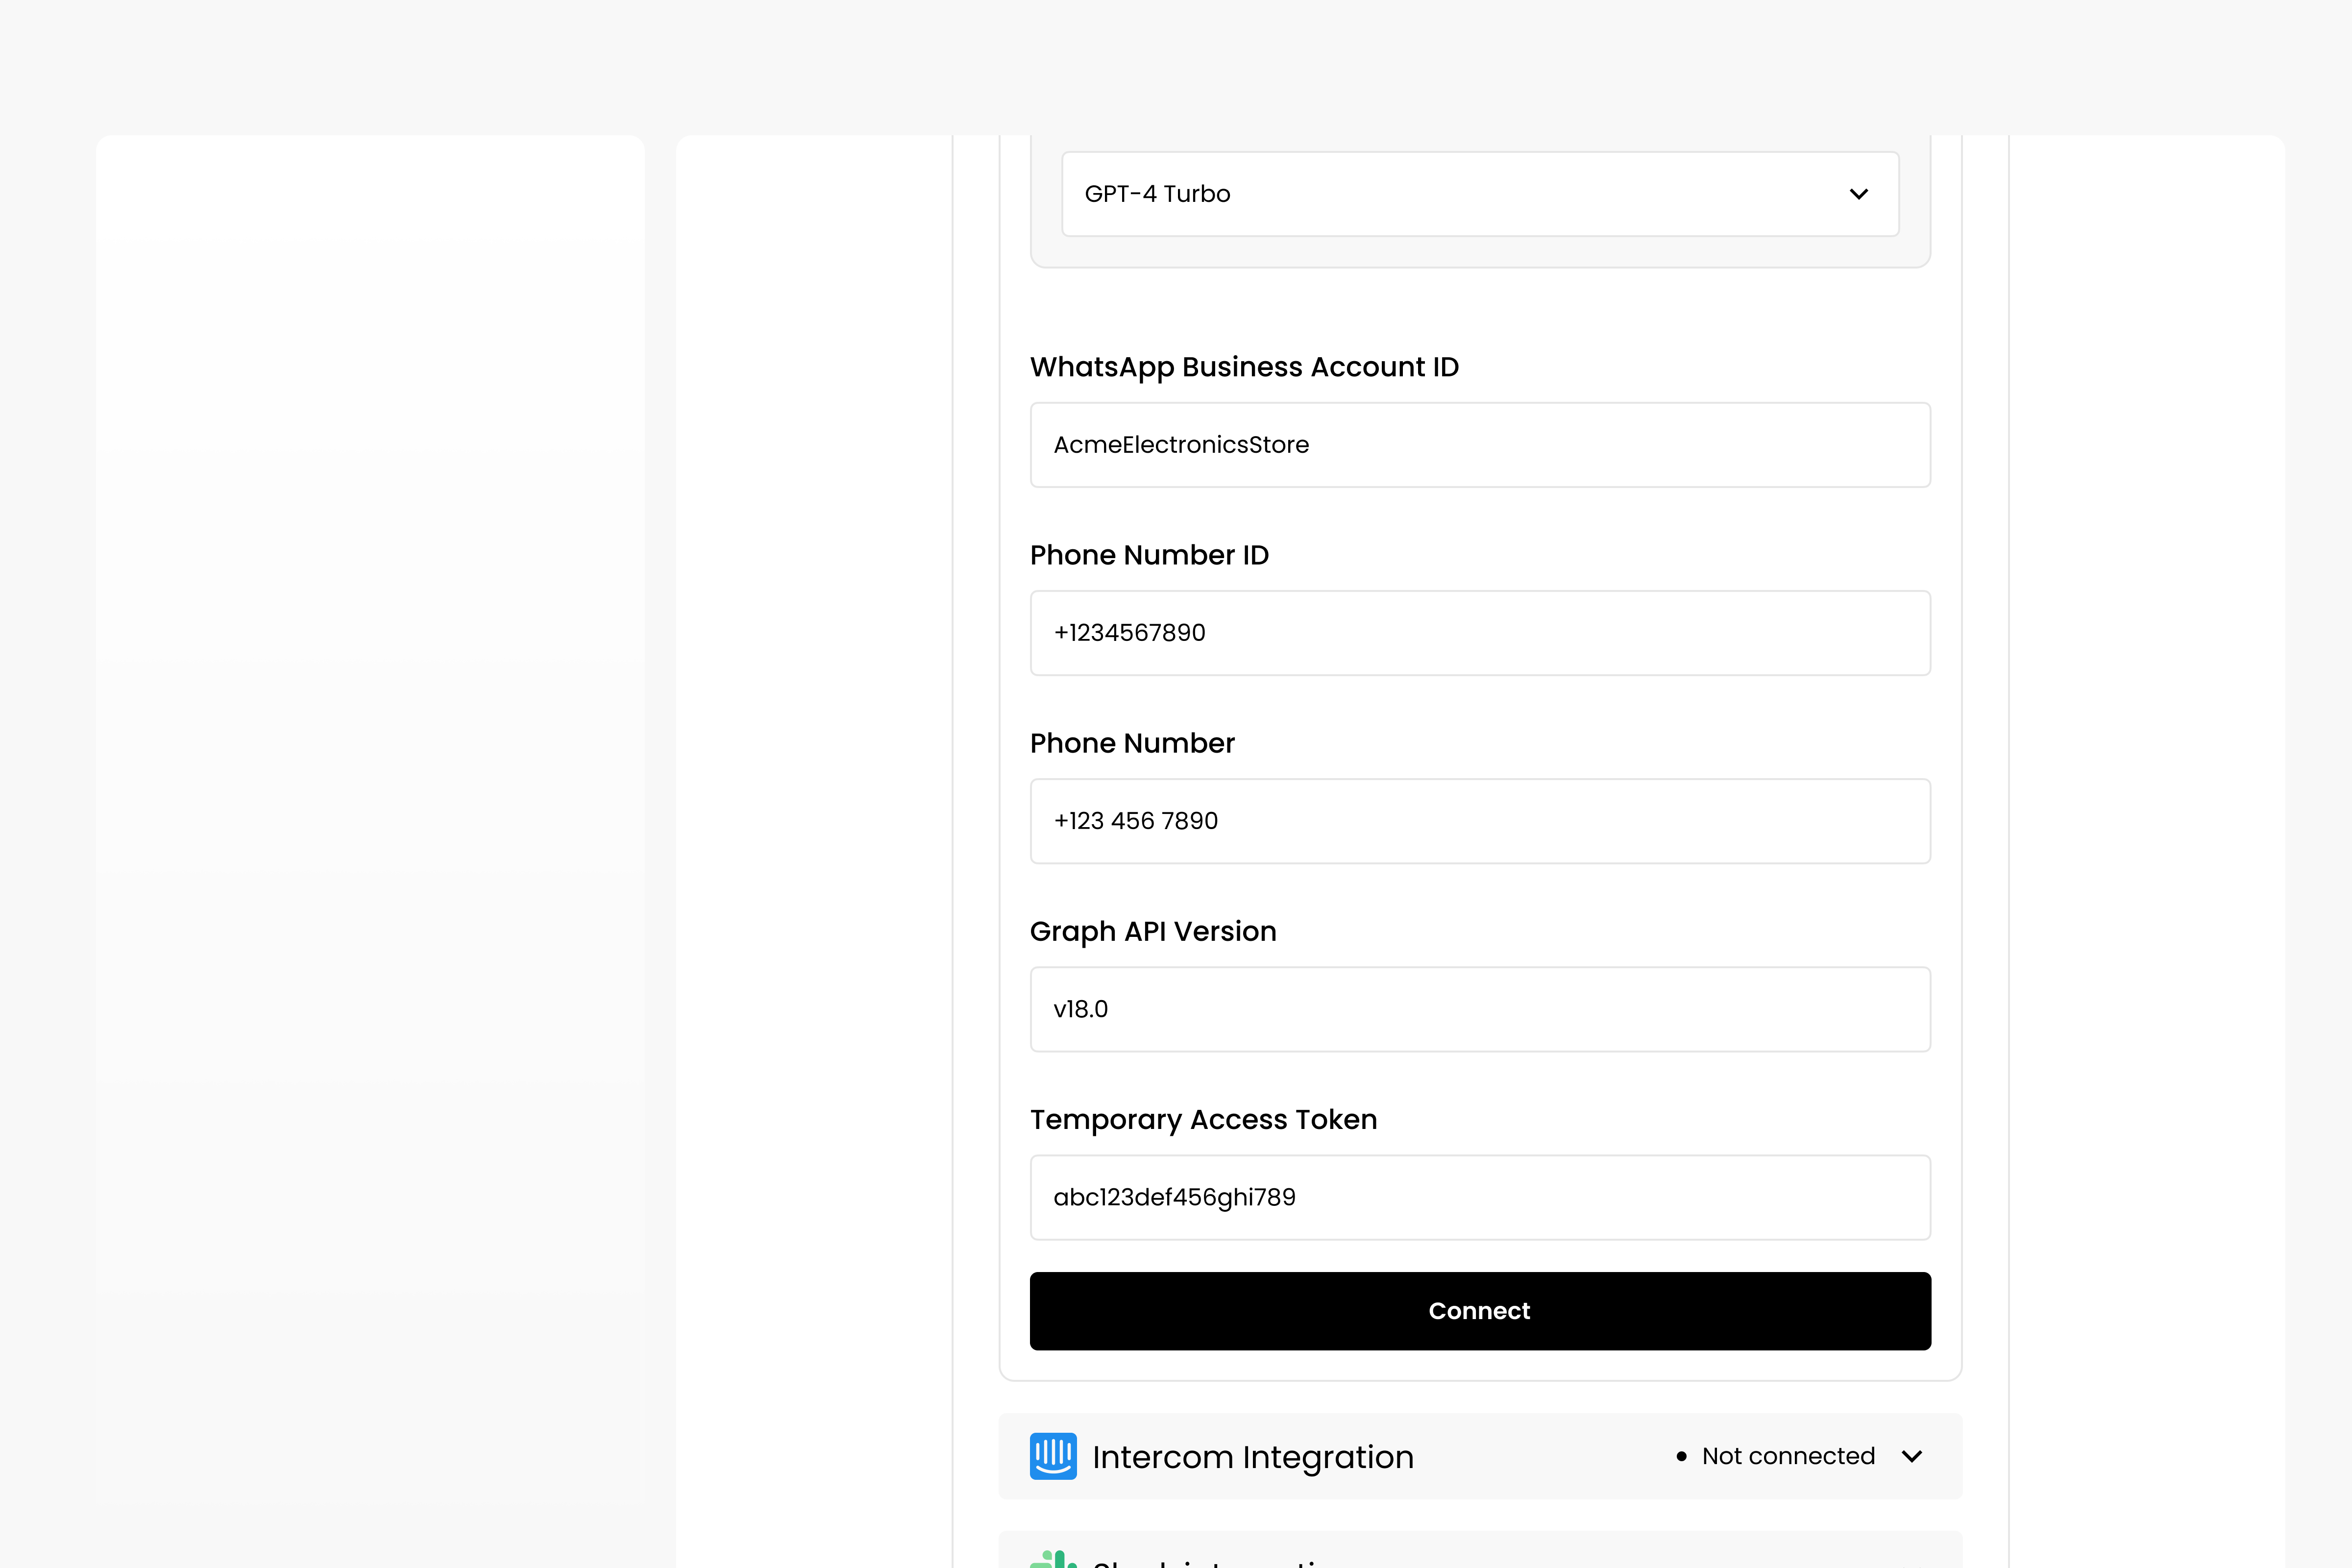
Verification in Dante:
Click the Connect button in Dante UI. This will attempt to send a message using the provided data to confirm if it’s working
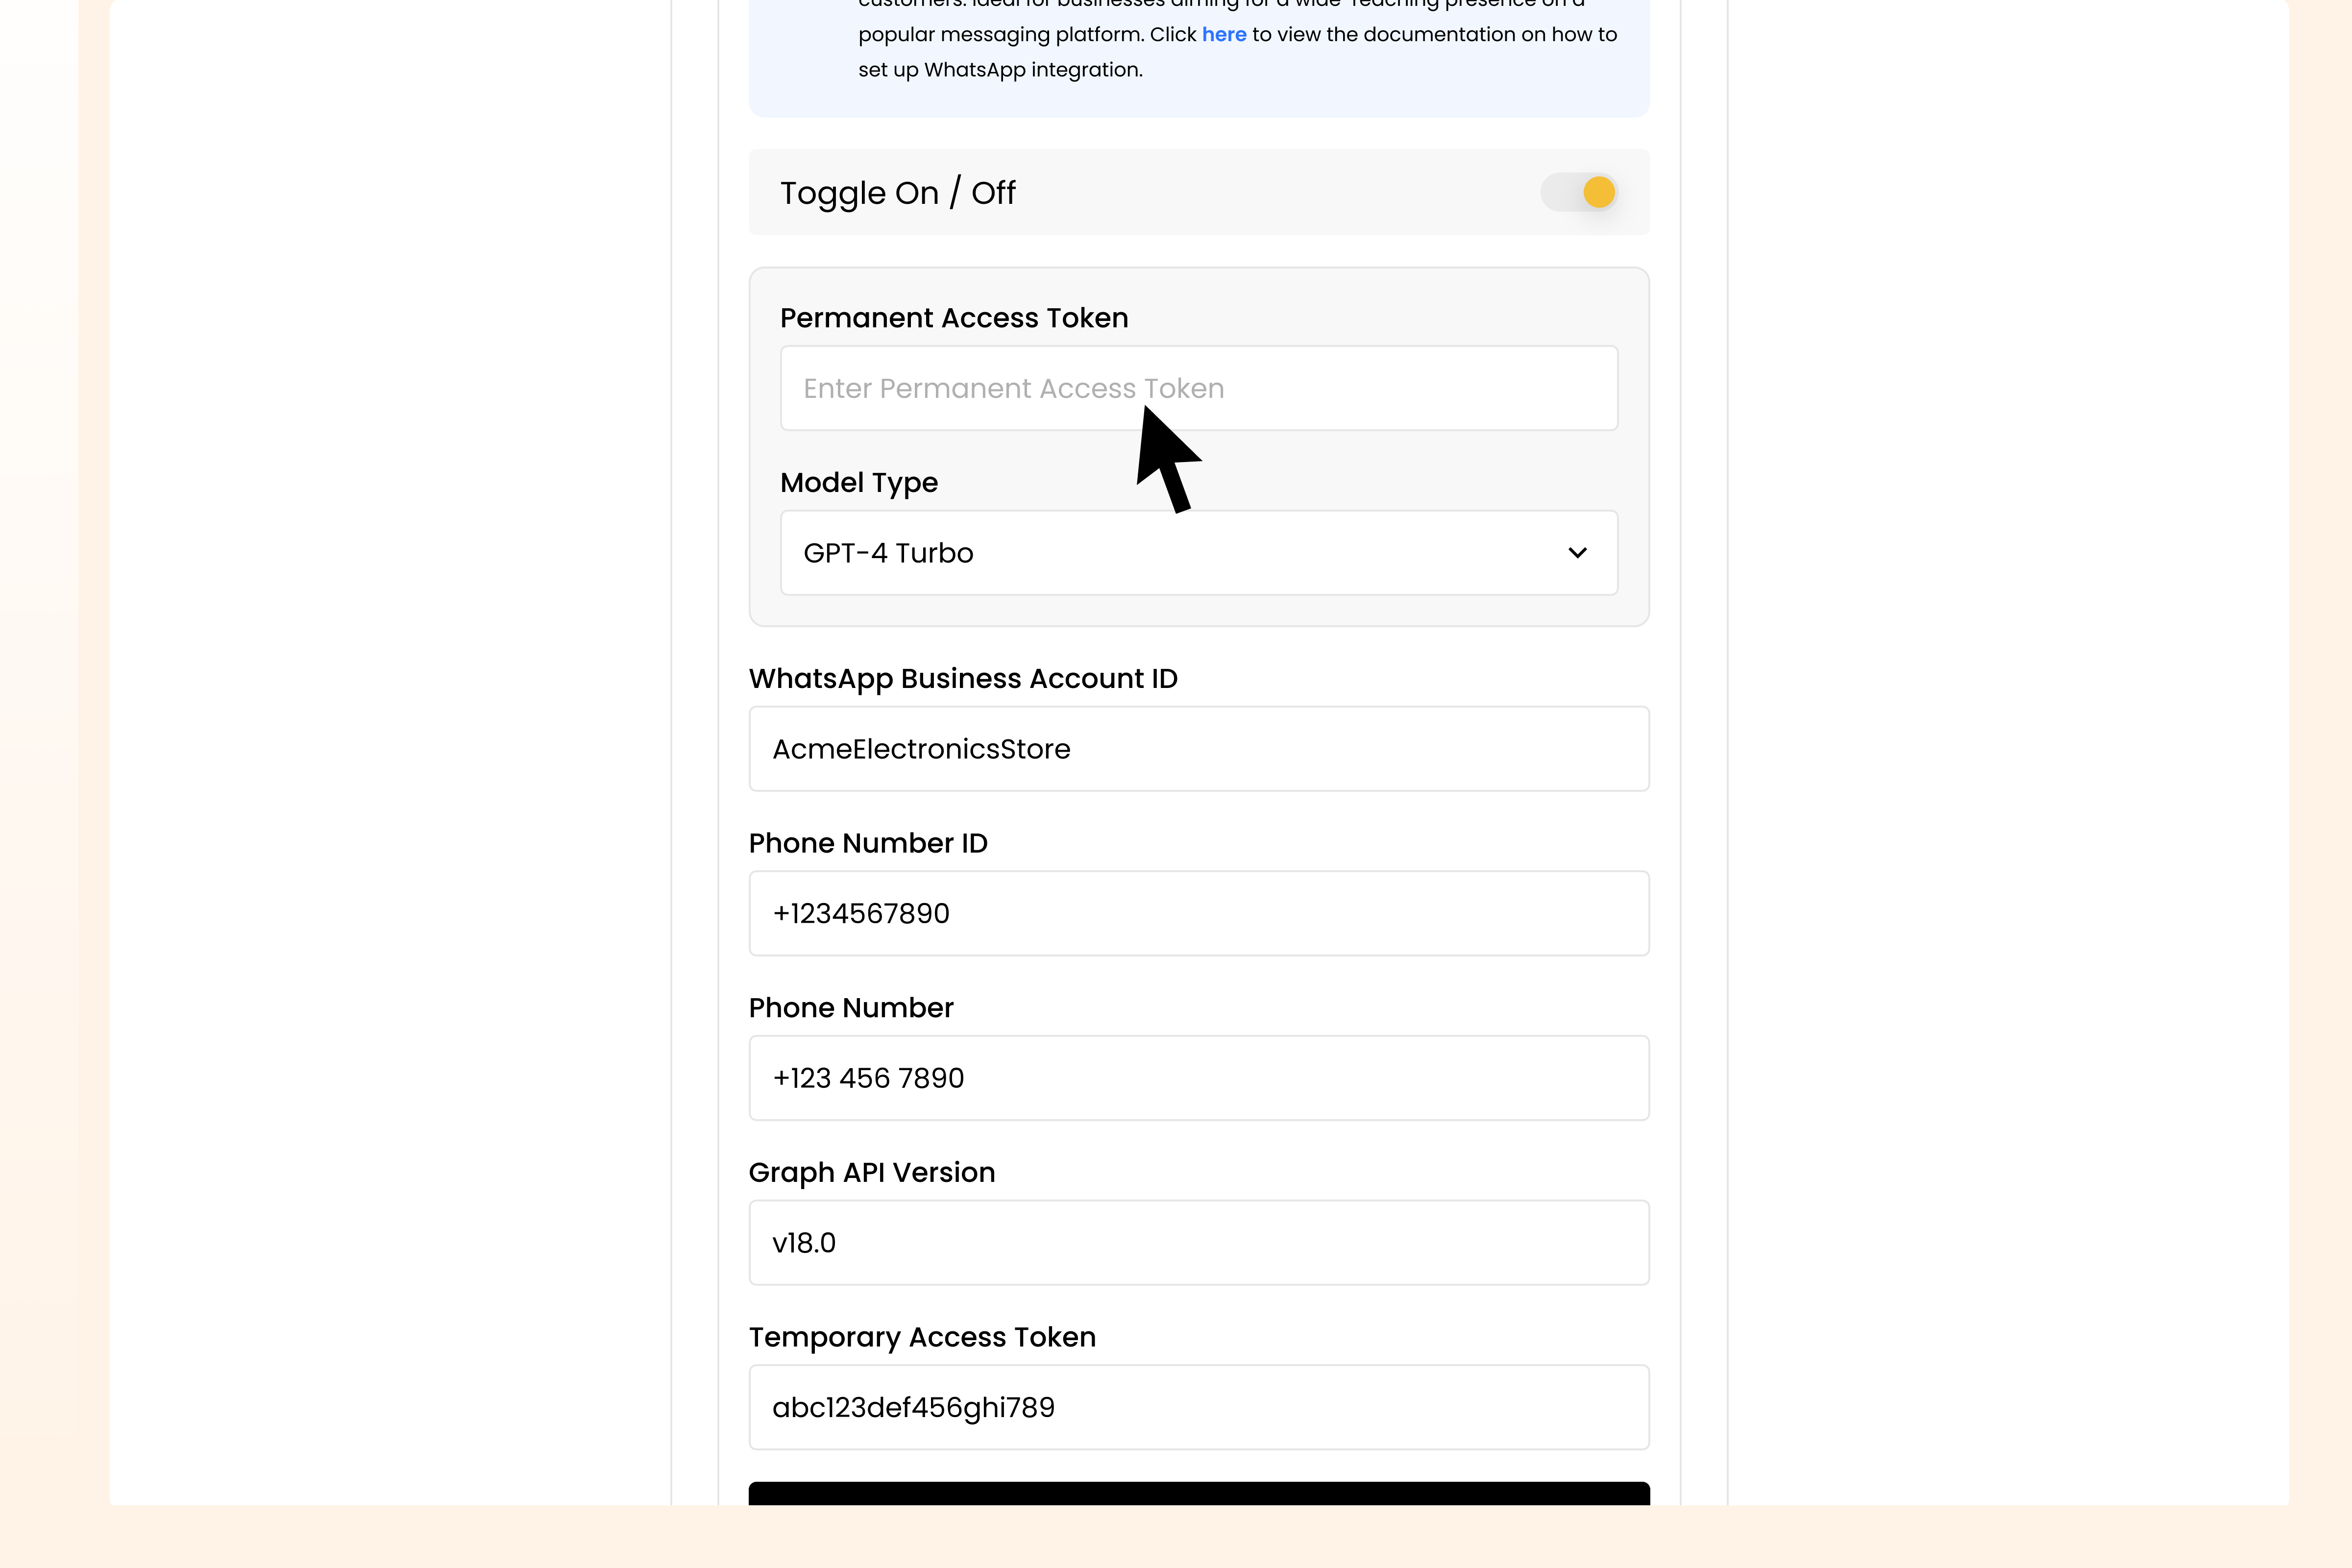
Create and Add Permanent Token:
Generate a permanent token in Meta and input it in Dante AI
Based on the system user (if it’s an Employee System User or an Admin System User) make sure they have access to Whatsapp Business Account
Final Verification and Activation:
Edit the Permanent Access Token in Dante AI, select Model Type and click on ‘Verify’ in Dante AI to check if all configurations are correct